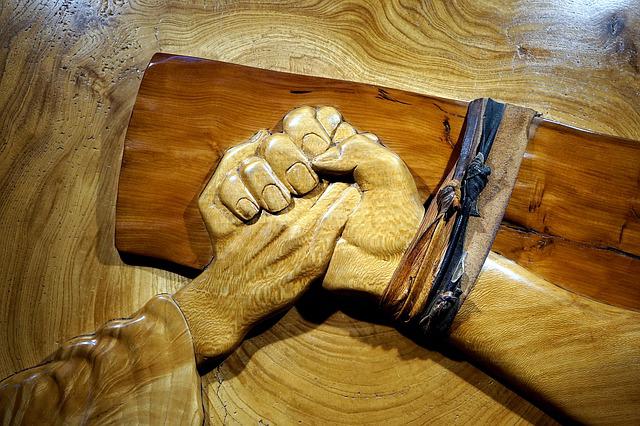
If you've ever wanted your own carvings, it's possible to follow along with a photo-trail. It can be a great way to emulate a famous carving without spending hours researching different styles. This will allow you to have as much fun as possible while achieving realistic results. Do not worry if your skills aren't up to par. There are many methods to create realistic-looking eyes.
Lesson 4 Carving hair
This step-by-step tutorial will show how to carve flowing hair onto the eyes for your animal carving. It will help you create a realistic appearance and create the illusion of lifelike emotion. It will also demonstrate the different tools you can use to make the different textures of hair. It will also show you how to use different curving tools to achieve different levels of hair. Once you are comfortable with the basics, you can start to tackle the more complex parts of your face like the nose and eyeballs.
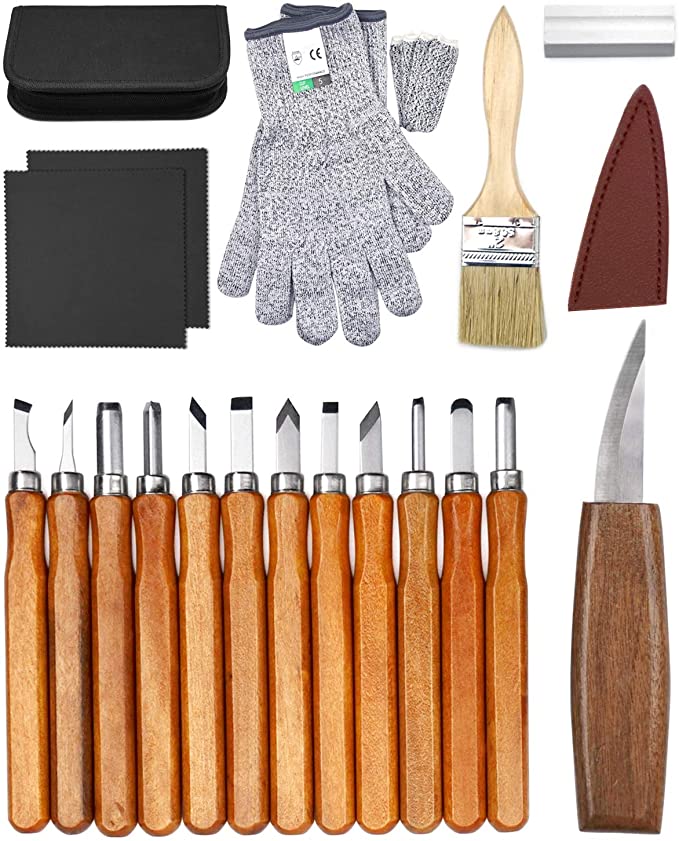
With a pencil, draw the eye cavities. Next, draw a straight line extending from the eyelids and eyebrows. You can also use a pencil to draw small squiggles to make the forehead higher and rounder. Afterward, use a whittling sloyd knife to round the corners of the cheeks and bottom lip, as well as the beard area.
Lesson 5 -- Carving crows' feet
Crow's feet is a common condition. You should learn what causes it. Repeated facial expressions like squinting can cause wrinkles. If you have crow's foot, you can use reading glasses, or get sunglasses. To prevent crows' feet, facial moisturizers are also an option.
Face wrinkles and fine lines can make people look older than they actually are. Thankfully, you can easily remove these lines to reveal a younger-looking complexion. These are some helpful tips.
Lesson 6 Carving an Iris
Children can see the iris, ocellus and other parts of their bodies in a mirror. This will help them to understand how they feel and look. They can also draw their eyes by using observational drawing. They can search for white, or other shades of the same colour, in the iris. The black is in the middle. After they have finished the drawing, they can add colour using different media and try to create the illusion of depth. Children can then compare their drawings of the eyes to see what differences they have in colour.
FAQ
What's the difference between a hobbyist and a professional woodworker?
Hobbyists enjoy making things out of wood, whereas professionals focus more on the quality of their work. Hobbyists usually take pride in their creations and often share them with friends and family. Professionals will spend hours looking at designs before they start to build a project. Professionals will be meticulous about all aspects of their work, from selecting the right materials to finishing it.
What wood items do well?
These wooden products are the most popular. They were made from sustainably harvested wood.
The most popular types of wood for furniture include oak, maple, cherry, mahogany, walnut, and teak.
These woods are extremely strong but also have beautiful colors and grain patterns. If they are well cared for, they can last many years.
To protect wooden furniture from moisture damage, you should paint it first. This covers all surfaces, drawers included, as well as doors and handles.
Paint that is water-resistant will ensure furniture lasts for a long time.
You should use a high-quality oil-based primer followed by two coats of top coat. You may need to apply several coats of top coat depending on how much wear it is expected.
Avoid spray cans or aerosol colors. These products are contaminated with solvents, which evaporate rapidly and can leave behind toxic fumes.
How long does it take you to finish a piece?
It all depends upon the size of your piece of furniture. You can finish smaller projects, such as boxes or picture frames, in one day. Larger projects like tables and desks take many days. It takes time and effort to properly stain the wood.
Statistics
- The best-paid 10 percent make $76,000, while the lowest-paid 10 percent make $34,000. (zippia.com)
- Most woodworkers agree that lumber moisture needs to be under 10% for building furniture. (woodandshop.com)
- Average lumber prices rose about 600 percent between April 2020 and May 2021. (familyhandyman.com)
- The U.S. Bureau of Labor Statistics (BLS) estimates that the number of jobs for woodworkers will decline by 4% between 2019 and 2029. (indeed.com)
External Links
How To
How to make wooden joints
This tutorial will show how to join 2 pieces of wood together. We'll use the "pocket hole joint," which means we drill holes in the wood and then glue them together. This method is great if your wood's straight and smooth. Try dowel joinery instead if your wood doesn't look straight. Here are the steps
-
Drill Pocket Hole Joints. Measure and mark the location where you would like to place the pocket hole joint. Use a jigsaw or handheld drilling machine to drill 3/8 inch deep holes at the ends of each wood piece.
-
Sand Smooth. Sanding the wood's edges will help ensure that the joint won't split later.
-
Glue both sides together. Apply glue to the sides of both wood. Allow it to cool for at least 5 minutes before you attach the pieces.
-
Secure the pieces together. After the glue has dried you can attach the pieces to form a flush joint.
-
Trim Joinery. After the glue dries completely, trim off any excess wood around the joint.
Allow enough space between pieces so you can turn them inside out.