
Sand your wood project before applying a finish. There are many ways to sand wood, but not one method that is the best. This article will cover a variety of methods such as a random-orbit or belt sander and a pumice rock. These are some of most commonly used methods. Learn more about each method.
A random-orbit sander
When sanding wood, random-orbit sanders are better than belt sanders because of their varying levels of pressure and speed. They will provide a smoother finish when used properly. You must use them properly and move them around the surface constantly. Also, improper usage can result in severe abrasions that will make it harder to smoothen the surface.
Using a belt sander
A belt sander is a great time-saver when sanding wood. One pass across an area will create successively smaller scratches. It is determined by the grit of the sandpaper. For example, coarse scratches with sixty-grit or eightygrit can be removed within minutes. It can take hours to sand deep scratches.
Using a pumice stone
A pumice is a good choice when sanding hardwood. It is a natural rock that can be found in many grits. It is great for removing scratches and dents from wood, but not good for creating super-fine finishes. To keep the stone from becoming clogged up, make sure you soak it in water prior to you start sanding.
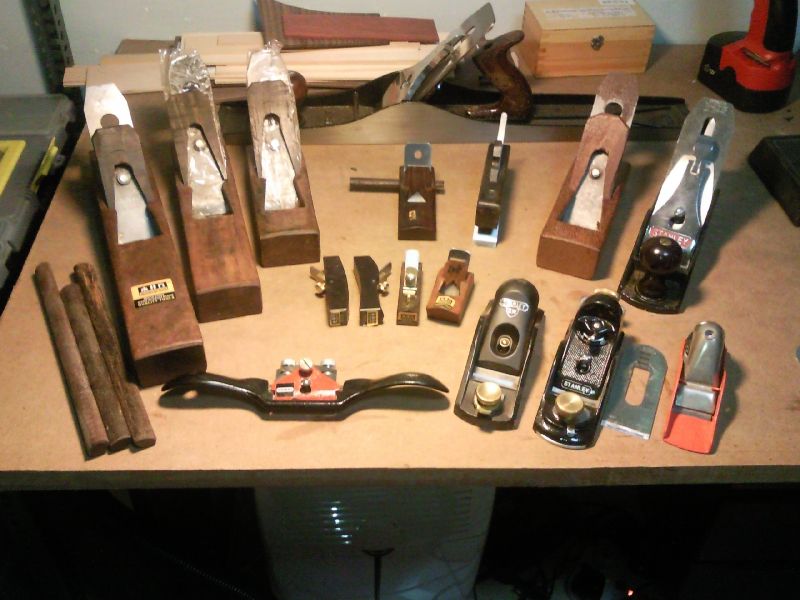
Using a hand planer
A hand planer is able to create smooth surfaces in fractions of the time required by a belt grinder. The blades create a continuous cut in wood. A planer requires less concentration to achieve smooth surfaces. Although hand planes are more effective at removing bulk, you'll need to be experienced in order not to tear it out. Jack Planers are a good choice for beginners. They can perform both bulk removal and smooth shavings.

Using steel wool
Use a steel sander to sand a small area. You don't want to overdo it and risk having an uneven finish. To clean wood surfaces, you can also use mineral spirits. When the cloth is dampened with the mineral spirits, it will take on a color that will gradually brighten the surface. The steel wool can be cleaned by changing the cloth's surface.
FAQ
Can this be a way to make money?
Yes! Many woodworkers do. According to the U.S. Bureau of Labor Statistics in May 2012, the median annual income for woodworkers was $34,000 This is much higher than the national median of $31,000 per annum.
Are there any tips for starting a woodworking enterprise?
It's not easy to start your own woodworking business. If you are passionate about your hobby, it will not be difficult to put in the work. You'll enjoy the challenge and rewards of owning your own business.
It is important to remember that unexpected problems may arise when you start a new venture. You might run out unexpectedly of funds. Maybe customers won't be willing to pay what you want. To survive, you'll need to be prepared for such situations.
One good tip is to set up a separate bank account specifically for your business. This way, you'll always know exactly how much money you have coming in.
How can you calculate woodworking pricing?
Remember to keep costs as low as you can when calculating project costs. Always ensure you are getting the best possible price for materials. You should also consider other factors that could impact the cost of your project, such as experience, skill level, time, and money. Our guide to the average household DIY task price will give you an idea of how much it costs to complete different types of woodwork projects.
How long does it usually take to complete a piece furniture?
It depends on the type of wood you choose, the complexity of the design, and the amount of finishing you apply. Hardwoods require more care than softwoods. Hardwoods tend to be more expensive that softwoods. They are more durable and can withstand moisture better. The typical time taken to finish a piece furniture takes anywhere from one to three month.
Which wooden products are most popular?
The best-selling wooden items are those which have been made from wood that was harvested sustainably.
Maple, cherry, mahogany walnut, teak, mahogany and maple are the most common woods for furniture.
These woods not only have great strength, but also beautiful patterns and colors. They are also very durable if properly maintained.
Wooden furniture should always be painted first to protect against moisture damage. This applies to all surfaces, even drawers and doors.
Paint that is water-resistant will ensure furniture lasts for a long time.
You should use a high-quality oil-based primer followed by two coats of top coat. Depending on how much wear you expect, you might need to apply more coats of topcoat.
Avoid spray cans or aerosol colors. These products contain solvents that evaporate quickly and leave behind harmful fumes.
Statistics
- Most woodworkers agree that lumber moisture needs to be under 10% for building furniture. (woodandshop.com)
- If your lumber isn't as dry as you would like when you purchase it (over 22% in Glen Huey's opinion…probably over 10-15% in my opinion), then it's a good idea to let it acclimate to your workshop for a couple of weeks. (woodandshop.com)
- Woodworkers on the lower end of that spectrum, the bottom 10% to be exact, make roughly $24,000 a year, while the top 10% makes $108,000. (zippia.com)
- Overall employment of woodworkers is projected to grow 8 percent from 2020 to 2030, about as fast as the average for all occupations. (bls.gov)
External Links
How To
How to make wood joint
This tutorial will demonstrate how to join two pieces together of wood. We will use the pocket hole joint, which is drilling holes in the wood to join them. This works well if the wood is straight and smooth. Try dowel joinery instead if your wood doesn't look straight. Here are the steps
-
Drill Pocket Hole Joints. Start by measuring and marking the spot where the pocket hole joint will be placed. With a handheld drill machine or jig saw, drill 3/4-inch deep holes in the ends of each piece.
-
Sand Smooth. Sanding the wood's edges will ensure that the joint doesn't split.
-
Glue Together Apply glue to both ends of the wood. Let the wood sit for 5 minutes, then clamp it together.
-
Secure the pieces together. Once the glue has dried, clamp the pieces together so they are flush.
-
Trim Joinery. Trim any excess wood surrounding the joint once the glue has dried completely.
Be sure to leave enough space between each piece so that they can be turned inside-out.