You will need to research which woods are best for carving your walking sticks before you begin. You will also want to know about various techniques for whittling and what David Allen uses to carve his walking sticks. Also, be sure to read some famous quotes about walking sticks and how to carve them. These tips will help you make the perfect walking stick. Continue reading to find out more. Now you can carve a walking stick that will be a unique, functional piece of art!
Woods that can be used to carve a walking stick
Finding a straight blank is the hardest part of the whole process. It is possible to find branches from trees that are too bent for use. However, you need to continue looking until you locate a straight piece. The ideal time to harvest a straight branch is during the winter months when sap travels from branches to root, making the wood more stable and less likely to split. If you don't have the time to wait for spring, you can still harvest the wood while it is still green.
For carving a walkingstick, you can choose from several species of wood. North American Chestnut is a solid wood. Because of its density, it is ideal for making walking sticks or other similar tools. This wood grain can be slightly or fully open depending on the species. It is a solid walking stick, which feels smooth and solid. It is also extremely attractive and is often used in carve. Some species can be carved with the bark left in place.
Techniques for making a walking stick
There are some basic steps to carving a walking stick. First, pick a piece that has a unique texture. Woods can have unique bark patterns and colors. Other woods may have natural swirls. You may want to enhance these features by using lacquer or paint. To make it more attractive, you can carve the wood shaft. Finally, ensure you choose straight sticks that are free of branch shoots and tough spikes.
This book will tell you all about wood types and different carving styles. Snakes and lions are the most popular designs. Other than snakes, it is possible to carve realistic figures, such as fish, deer, and eagles. Many people consider the skills of these artists to be God-given. This book can be used by both novice and advanced carvers.
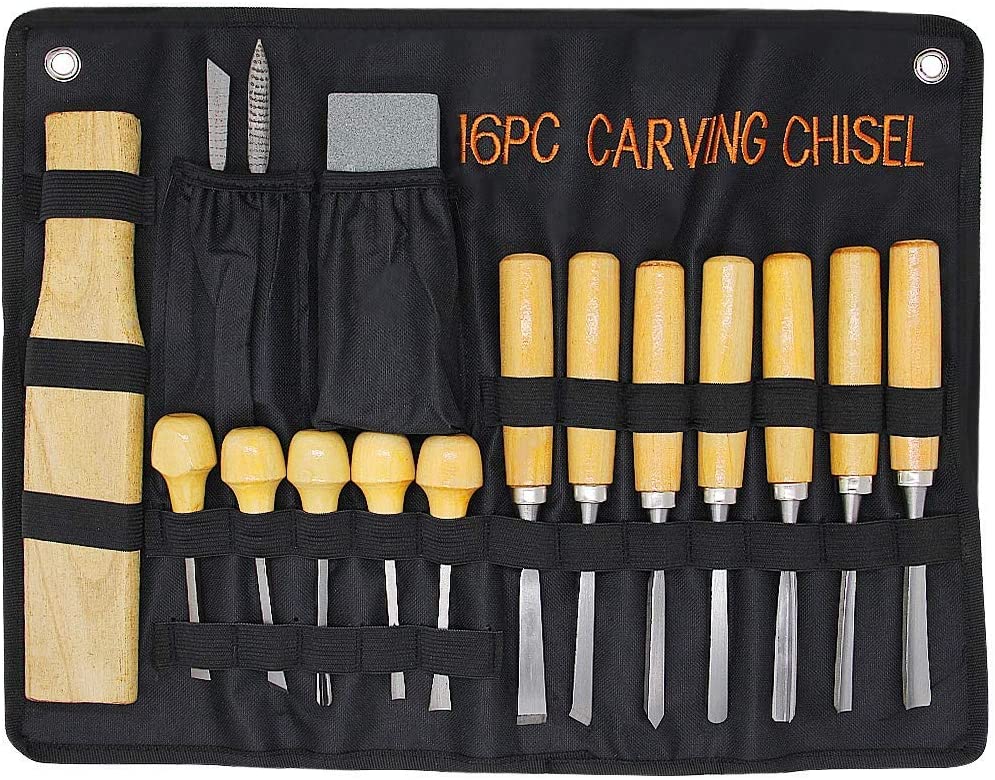
David Allen uses the following tools for carving a walkingstick
David Allen started making toys when he was young. He used a pocketknife from his childhood to create them. Because he was too young to use a knife, he had to keep it secret from his family. His creations included toys like slingshots and utilitarian objects like shoeshine boxes. Allen was 15 years old when he became disabled and started carving walking sticks. Allen used a pocketknife as well as a chisel for carving the wood.
Allen devised his designs on his own, looking at the roots of saplings to decide what to carve. Allen believed that design must be "seeable" before carving can begin. This was similar to the work of many African-American artists. Allen had many visions and dreams of the design he wanted. Through this, he was capable of creating a stick that would inspire the emotions and feelings within his community.
Famous quotes about carving a walking stick
Carving a walk stick is a difficult process. You need a good blank. This is the most challenging part of the whole project. While there are many places to source your stick from, it's important that you persevere until you find one that is straight. The stick may seem bent beyond practical use but you will keep looking until one is found. Try to cut your stick when the sap is flowing from branches to root. The sap makes the wood softer and less likely to split.

The wood's texture, color and grain are important considerations when selecting wood. Every piece has a unique texture and color. There may be unique bark marks or swirls. The natural swirls can be enhanced with a coat lacquer. It is important that the wood shaft be free from any branch shoots or hard spikes in order to achieve a smooth finish. This will make it easier. It doesn't matter what material or finish you choose, but it is worth considering the type of finishing that you will use.
FAQ
What is the hourly rate for a woodworker?
The hourly rate paid to a professional woodworker is dependent on many factors. These include skill level, availability, and location.
A skilled woodworker can expect an hourly rate of $20-50.
A woodworker with less experience may be able to charge $10 an hour.
What is the average time it takes to finish furniture?
It depends on the size of the piece of furniture. You can finish smaller projects, such as boxes or picture frames, in one day. Larger projects like dining tables and desks require several days. It takes time and effort to properly stain the wood.
What material would your recommendation be to learn woodworking?
Start with softwoods, such as pine or poplar. You will feel more comfortable with these softwoods, so you can move onto hardwood.
What is the minimum investment a hobbyist needs to make in order to get started?
A lot of capital is required to purchase the necessary supplies and tools if you want to start your own woodworking shop. Start by getting a small circular saw saw, drill press or circular saw. These items are affordable so you won’t break the bank.
Where can I find free woodworking plan?
To find free woodworking plans, you don't have to buy any magazines or books. Search Google for free woodworking plans. Just enter "free woodworking" into the search bar, and you'll see hundreds of websites where you can download free plans.
How can you calculate woodworking pricing?
It is essential to calculate costs as accurately as possible when pricing any project. Always ensure you are getting the best possible price for materials. It's also worth taking into account all the other factors that may affect the cost of your projects, such as time, skill level, and experience. You can find an estimate of the cost of different woodwork projects in our guide to common DIY tasks.
How do I get started with woodworking?
The best way to learn how to build furniture is by building furniture. You will need tools. There are bound to be mistakes. But if your persistence is consistent, you will soon master the craft.
First, choose a project you would like to complete. You could make something as simple or complex as a box. Or you could build a whole entertainment center. Once you have chosen a project, locate a local woodworker who is skilled in this kind of work. Ask him or her for advice on what tools you'll need and where to find them. You might even ask whether there's someone else you can talk to who does this kind of work.
Statistics
- In 2014, there were just over 237,000 jobs for all woodworkers, with other wood product manufacturing employing 23 percent; wood kitchen cabinets and countertop manufacturing employing 21 percent. (theartcareerproject.com)
- Overall employment of woodworkers is projected to grow 8 percent from 2020 to 2030, about as fast as the average for all occupations. (bls.gov)
- Most woodworkers agree that lumber moisture needs to be under 10% for building furniture. (woodandshop.com)
- If your lumber isn't as dry as you would like when you purchase it (over 22% in Glen Huey's opinion…probably over 10-15% in my opinion), then it's a good idea to let it acclimate to your workshop for a couple of weeks. (woodandshop.com)
External Links
How To
How to use a handsaw correctly
To cut wood into pieces, a handsaw is used. Most common hand saws include circular saws (jigsaws), table saws and band saws. A handsaw can be made of metal or other plastic. It cuts through material such as wood and plastics.
The main advantage of using a hand saw is its ability to make precise cuts at any angle without adjusting the blade. It's also much easier to sharpen them than power tools. But there are disadvantages. They are also heavy and bulky so be careful when moving them. You could also injure your self if you don't know how to use them.
There are many ways you can hold a saw. While cutting, it is important to keep your hands clear of the blades. If you don't, you might get hurt. While holding the saw, make sure you place your fingers around its handle. Keep your thumb close to the blade. This ensures that the blade is not accidentally touched.
When using a hand saw, you should never put anything under the piece of wood you're cutting. Doing so could cause the blade's surface to become uneven. Before cutting, be sure to check the area. Ensure no nails, screws, or other objects are underneath the wood.
You should always wear safety goggles when working with a hand saw. Safety glasses protect your eyes from dust and make it easier to see what the hand saw is doing. Safety glasses can also be useful as they protect your skin from flying debris.
First, learn how to safely use a hand saw. Next, practice until your confidence is high enough to begin cutting. Once you are comfortable with the basics, you will be able cut almost any material.