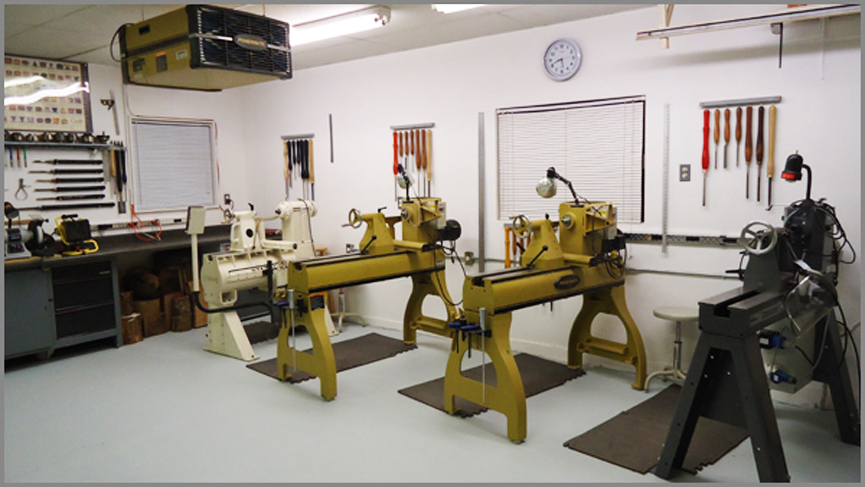
A face shield is an essential accessory for woodturners. The woodturning workshop is a very noisy place, so it is essential that woodturners take appropriate precautions to safeguard their hearing. Loud noises can cause serious hearing loss. Face shields look great and are functional. It is wise to invest in high-quality sets.
Bionic Face Shield
A Bionic face shield for woodturners is essential. This protective equipment works well for many different types of work such as woodturning. This face shield is comfortable and offers superior protection from flying debris and infrared rays from welding. The lightweight and slim design of the shield allows for easy wear. Its visor is easily removable so that you don't have to strain your vision.
For added protection, the Bionic Face Shield can be ordered in clear or tinted plasticcarbonate. Its tough visor protects against flying debris and chemical splashes in the work area. It has excellent peripheral vision, and it extends above your head for an even better view. It is safe in electrical environments thanks to its Dielectric construction. The face shield features an ergonomic design, rear foam padding and a perfect fit. There are many tint options that will suit your needs. The Bionic Face Shield will fit snugly over any safety eyewear. It can also be used comfortably with most goggles, respirators and goggles.
3M 90028
The Face Shield For Wood Turning can be used as a safety device for woodturning. The heavy-duty and thick face shield provides excellent protection against high impact while remaining comfortable and simple to use. The face protector can be adjusted to fit almost any size, even narrower faces. The visor is available in clear or anti-fog versions. The Face Shield For Wood Turning is ANSI-94-compliant and fits comfortably over most types of respirators.
Premium materials are used to make the face shield. It also includes a ratcheting suspension for the headgear. It features adjustable headgear and a top shield. It is lightweight and easy to use, thanks to the adjustable band that adjusts to any size face. The face shield has been tested for protection against injuries in work and is suitable for all work environments. You'll be glad you bought it!
Woodturning can also be done with powered face mask respirators. These respirators protect workers' faces against dust, fumes and other harmful particles. These face shields protect both the eyes, lungs, and good looks. They may be more expensive, but the value is well worth it. However, safety comes at the cost of your aesthetics. A powered face shield may require you to use your own respirator.
Honeywell Bionic Face Shield
Bionic Face Shield is ruggedly designed to protect your face from damage, chemical splash, and any other debris. Dual position and highly adjustable design allow for the best fit. The visor can be removed and replaced. The face shield can be worn over glasses, respirators, or other protective eyewear. It's lightweight so it can be worn all day.
The visor is made from polycarbonate. It provides excellent protection against flying debris and does not block your view. The visor fits comfortably on your head and can be adjusted with an adjustable sweatband. It can be used outdoors and indoors. The visor flips up for easy access and flips down for protection. Using a Honeywell Bionic Face Shield will keep your face safe while you're working and will protect your face from flying debris.
FAQ
Do you have any advice on how to start a woodworking business.
It can be difficult to start a woodworking shop. It's worth it if you're passionate and willing to work hard. Plus, you'll probably enjoy the challenge of running your own business.
One thing to keep in mind when launching a new venture is that you might encounter unexpected problems along the way. Unexpectedly, money might run out. Perhaps customers won't pay you as much as you had hoped. You need to be ready for these situations if you want to survive.
One good tip is to set up a separate bank account specifically for your business. You'll be able to track how much money comes in and out.
What else should I know about woodworking in general?
It is easy for people to overlook the work involved in furniture making. Finding the right type of wood is the most difficult aspect of this process. There are so many varieties of wood available that choosing one can be difficult.
The problem with wood is that not all wood properties are the same. Some woods will warp over time, others will split or crack. You must take these things into consideration before purchasing wood.
What is the difference between a hobbyist or a professional woodworker, and how can you tell?
Hobbyists love making things from wood while professionals are more concerned with the quality of their work. Hobbyists take great pride in their creations, and share them with family and friends. Professionals will spend hours researching designs and then begin to create a project. Professionals will be meticulous about all aspects of their work, from selecting the right materials to finishing it.
How long does it take to finish a piece of furniture?
It all depends upon the size of your piece of furniture. For smaller projects such as picture frames and boxes, it can take less than a day to complete. Larger projects like dining tables and desks require several days. It takes time in order to properly stain or seal the wood.
How much money does a hobbyist have to put into getting started?
You will need capital to purchase the tools and supplies you need to start your woodworking business. It's a good idea to buy a small tablesaw, drill press and circular saw. These items don't cost much so they won't break your budget.
Statistics
- Woodworkers on the lower end of that spectrum, the bottom 10% to be exact, make roughly $24,000 a year, while the top 10% makes $108,000. (zippia.com)
- If your lumber isn't as dry as you would like when you purchase it (over 22% in Glen Huey's opinion…probably over 10-15% in my opinion), then it's a good idea to let it acclimate to your workshop for a couple of weeks. (woodandshop.com)
- Average lumber prices rose about 600 percent between April 2020 and May 2021. (familyhandyman.com)
- In 2014, there were just over 237,000 jobs for all woodworkers, with other wood product manufacturing employing 23 percent; wood kitchen cabinets and countertop manufacturing employing 21 percent. (theartcareerproject.com)
External Links
How To
How to drive a nail through wood
First, choose the right size and type of tool to drive a nail through wood. Claw hammers include mallets, claw hammers (sledgehammers), mallets, ball-peen hammers, hatchets, and mallets. Each type of hammer comes with its advantages and disadvantages. For example, a claw hammer works best when you want to hit something hard, like nails; however, it's difficult to control precisely where the blow lands. The sledgehammer works well for large areas, but is too heavy for smaller tasks.
After you've chosen the right tool, hold your hand flat to the handle so it rests comfortably in one of your palms. Grip the handle firmly, but don't squeeze it so tightly that you hurt yourself. Keep your wrist relaxed and the hammer straight up. Then swing the hammer back toward the ground, aiming for the center of the nail. The impact of the hammer hitting the nail should be felt. Try practicing with a block to help you master the art of swinging a stick.
The hammer should be held close to your body when you are ready to begin driving the nail. Place the nail so that it is perpendicular with the wood's surface. Keep your eyes on the tip. Swing the hammer forward, then follow through with the motion of the hammerhead. Keep doing this until you are comfortable with the swing. Try adding power to your swings when you've mastered the technique. You can hold the hammer over your shoulder and forcefully bring it down. This way, you'll be able to put more energy behind your blows.
Once you have made the first hole, remove your hammer. The rest of the nails can be pulled out using a screwdriver, pry bar, or a hammer. To prevent splitting the wood, ensure you keep the nail heads flush against the board's surface.