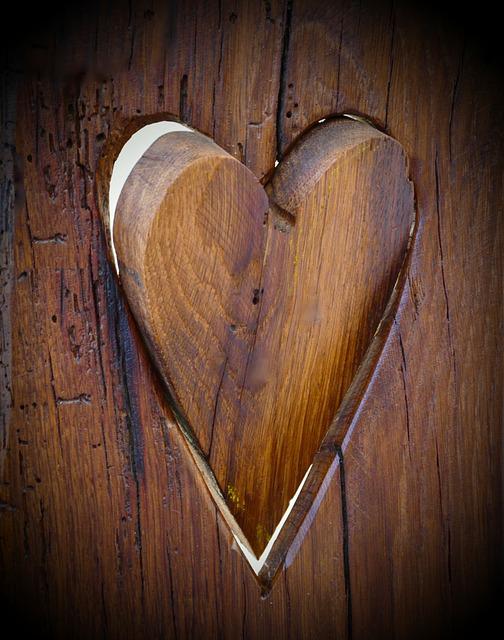
There are many ways to carve a gnome. There are a few important details to consider before you start carving. This project is both fun and rewarding, in addition to the actual carving. This project requires many layers, and it is a great way for beginners to learn how to carve an gnome. You can also add creativity to your gnome-carving. Here are three ways to carve a gnome from wood.
Freehand carving a gromme
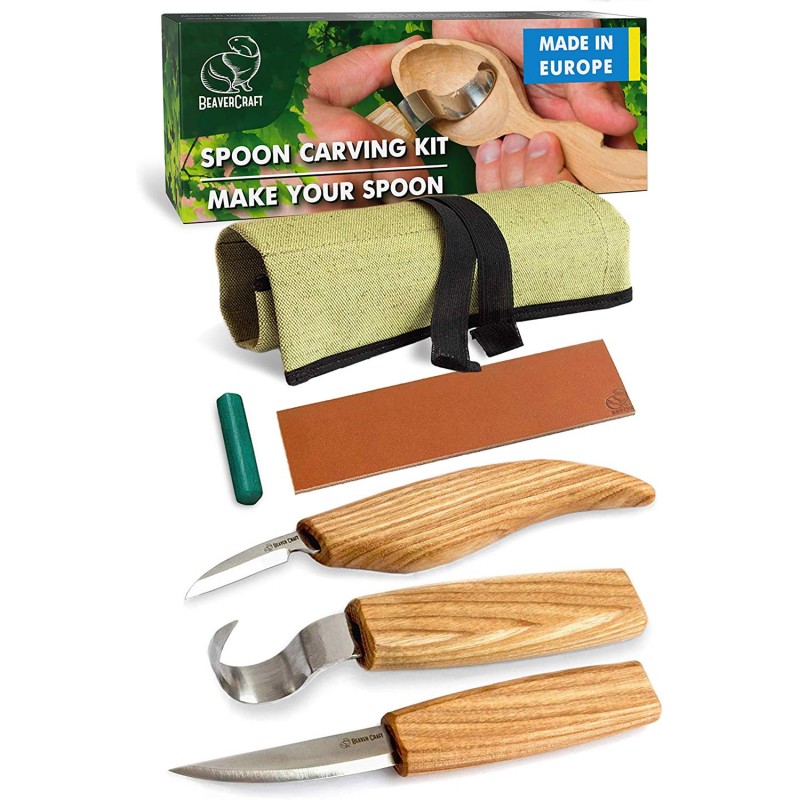
Here are some tips to help you freehand carve a Christmas gnome. It is possible to carve the gnome without a knife. A micro V-tool will be necessary if you wish to add fine details to your hat rim. A gnome, while a simple project to carve, can be accomplished in your spare moments.
You can use the gnome to practice your freehand carving skills. These gnomes were once common garden ornaments. They are still in use in many countries. A gnome is a great way of assessing your skills and identifying areas for improvement. It will also be an excellent measuring stick for design, detail, and depth. Once you are proficient at drawing the gnome, it is possible to start carving his features.
Whistle carving is a must-try project for every woodcarver
A whistle is a great project for woodcarvers. A whistle, which is simple and functional, can be fun to carve. It's also a great way to introduce people to the craft. However, there are several important steps to follow if you want your whistle to be a functional piece. This tutorial will walk you through the process of carving a whistle.
To start the project, you'll first need a straight edged knife and nontoxic oil. It may seem intimidating, but carving a Gnome is an easy project that will increase your woodcarving skill and provide you with a creative outlet. This project is also a great beginner project, because it allows you to try many different woodcarving techniques.
Creativity to Gnome Carvings
You can make gnome carvings more creative by simply adding a hat. You might find a wood-carved gnome to be whimsical or a charming decoration. Or, you might love a friendly troll. Gnomes can add personality to your garden and can be made with a variety of materials such as stone, wood, and more stone.
Make a gnome of wood
When carving a gnome out of wood, the first thing you need to do is determine the size of your wood block. From there, you'll draw out the gnome's anatomy, including the face, body, feet, belt, and hat. For the face, you'll want to create a V-cut in specific areas to create smooth corners. With a chisel/knife, cut V-cuts where needed. Next, use a micro V tool to cut a piece about 1.5mm thick of wood. This will give you a nice curled edge for the beard and hat rim.
You should remember that carving a gnome is an easy project for beginners. This is because there is so much potential to produce high-quality work. Every week, you'll see progress in carving a new gnome. Although it may not be possible with all projects this will make you noticeable improvements in design, shape, facial features, and overall project progress.
Adding a gnome to a world of gnomes
Gnomes Of The Underdark and other RPGs have a common character: David. This character does not seem crazy. He has traits like Speak Fluent Animal, Can't Argue with Elves, and Telepathy. He has the ability to put up road signs and throw people off. David and Lisa may have a rivalry.
Gnomes have a powerful ability to cast spells and are very proficient at manipulating arcana. They are also the only available race in the game. Other gnomes, like undead and leper gnomes, share the same skeleton animation. Gnomes have always had a strong presence in Kirin Tor. Meryl Felstorm was their founding member. He had a gnome to his credit.
FAQ
What woods can be used to make furniture?
Woods are classified based on their hardness. Softwoods include pine, fir, cedar, and cypress. They are great for outdoor furniture as they resist rot. You can find hardwoods like oak, maple, mahogany, teak, and others. Because they are not weather-resistant, they are best used indoors.
How can I learn basic woodworking skills
You can start building furniture by making a bench. This project can be done with any kind of wood that you have at home. If you're not sure which kind of wood to choose, you can purchase cheap pine boards at Lowes and Home Depot. Once you have built your bench, you will need to sand it off and then finish it with a stain/varnish.
How long does a piece take to finish?
It depends on the wood type you choose, the complexity and the amount you apply to the finished product. Hardwoods are more difficult to maintain than softwoods. Hardwoods are also more expensive than softwoods. However, they are stronger and more resistant to moisture. The process of finishing a piece of furniture typically takes anywhere from one week to three months.
Statistics
- Overall employment of woodworkers is projected to grow 8 percent from 2020 to 2030, about as fast as the average for all occupations. (bls.gov)
- In 2014, there were just over 237,000 jobs for all woodworkers, with other wood product manufacturing employing 23 percent; wood kitchen cabinets and countertop manufacturing employing 21 percent. (theartcareerproject.com)
- If your lumber isn't as dry as you would like when you purchase it (over 22% in Glen Huey's opinion…probably over 10-15% in my opinion), then it's a good idea to let it acclimate to your workshop for a couple of weeks. (woodandshop.com)
- The U.S. Bureau of Labor Statistics (BLS) estimates that the number of jobs for woodworkers will decline by 4% between 2019 and 2029. (indeed.com)
External Links
How To
How to make wood joints
This tutorial will help you join two pieces of wooden together. The "pocket hole joint" is a method whereby we drill holes into the wood and glue them together. This method is great if your wood's straight and smooth. You might consider dowel joinery if your wood isn’t straight or flat. These are the steps
-
Drill Pocket Hole Joints. To start, measure and mark where you want to put the pocket hole joint. Next, drill 3/4 inch holes in each end of each piece using a handheld drilling machine or jigsaw.
-
Sand Smooth. You can sand the edges of the wood to ensure that it doesn't split.
-
Glue both sides together. Apply glue to both sides of the wood. Allow the wood to rest for five minutes before clamping it together.
-
Fix the Pieces together. After the glue has dried thoroughly, secure the pieces so that they are flush.
-
Trim Joinery. After the glue dries completely, trim off any excess wood around the joint.
To be able to turn the pieces inside-out, leave enough room between them.