The bevel is a fundamental technique for turning. It involves several key steps. Holding the tool's shaft firmly in contact with the tool rest, you advance the tool until its cutting edge touches the stock. As the tool advances, you slowly raise the handle until the cutting edge engages the stock, resulting in shavings. The tool will not cut the stock while you ride the bevel. After the cutting edge has engaged the stock, the tool can be retracted. The handle should then be raised again when the cutting edges are engaged.
Wood turning is an specialized branch in woodworking.
The practice of wood turning is a popular hobby for people who love the tactile nature of wood and working with their hands. This specialty branch of woodworking is rewarding for both novice and advanced woodworkers. Demonstrations should take between 6-10 minutes and 10 minutes. You should not leave stock behind during demonstrations so you can concentrate on creating your piece.
Protect your eyes before you begin woodturning. Woodturning involves inserting a sharp metal tool in the wood. While wearing goggles to protect your eyes, a face shield will keep the burl from hitting your nose and causing injury. Wood dust can cause asthma, skin allergies, or even cancer. The wood shavings produced by wood turning may irritate your skin.
It takes less wood
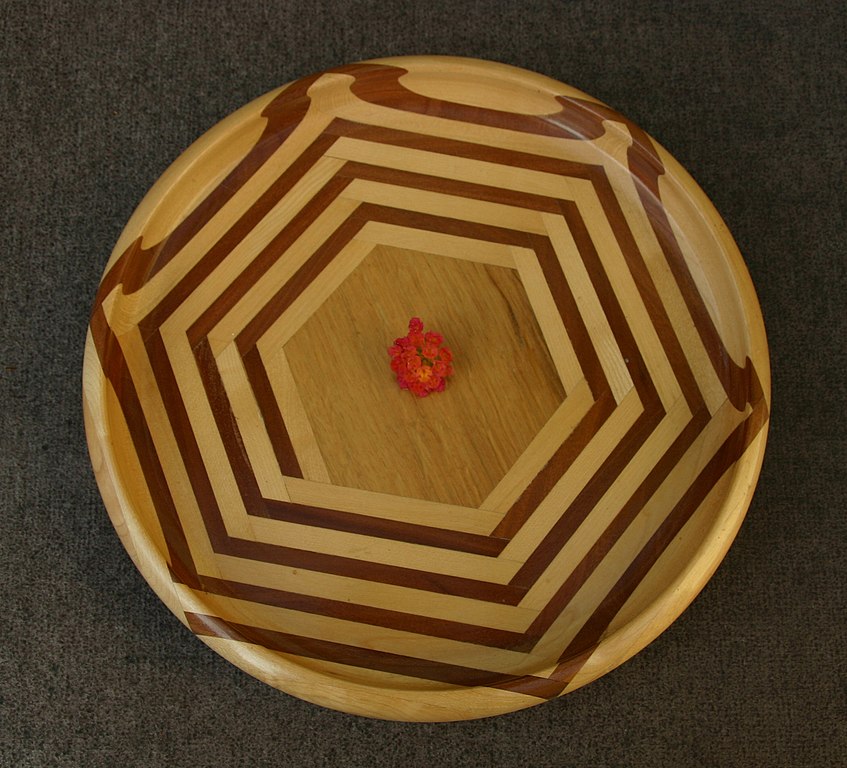
Woodturning can also be done with any type of tree. However, certain pieces are easier to work with than others. While woodturning stock can be made from any section of a tree, some parts of a tree have better grain and figure than others. Here are some tips to make your woodturning project go faster. First, select stable material. It is important to choose lumber that isn't susceptible to warping or moving. Make sure you choose a piece that has tight bark. Tight bark tends to resist checking and allows the woodworker to create a natural edge vessel.
A wooden blank can be used as a basic tool for turning. Find a lumber yard, and then purchase it. A large sawmill can cut large logs into smaller pieces. These sections will then be further cut using a table saw, bandsaw, or bandsaw. To create blanks, DIYers could also cut the lumber. Most fleshly-cut wood can be dried before being turned. This helps to prevent cracks in wood, which is vital for quality turning projects.
It is also more stable
If you are looking for a more stable cutting environment, you should consider purchasing a Swiss-Style lathe. Although bar stock may not be perfectly straight, vibrations can create that can impact precision and tool wear. Swiss-style lathes are not equipped with belt drives and produce less vibration. Likewise, the sliding headstock must move smoothly and with precision to avoid the effects of harmonic vibrations from high-speed rotation. Preloaded roller pads on the sliding mechanism help provide the smoothest movement possible. The vibrations created by high-speed rotation are harmonic. The sliding mechanism can absorb these vibrations.
FAQ
How much money do you need to get going?
There are no exact numbers because every project is different. Here are some factors to help you estimate how much money you will need.
-
Material costs
-
Tools and equipment
-
Time spent on the Project
-
Your hourly rate
-
What profit are you expecting to earn?
-
You can hire help, regardless of whether you have a plan.
You might start small if you are just starting out. You'll become more proficient as you get experience.
Can I refinish furniture that I make?
Yes! Yes! There are many methods to refinish antique furniture without hiring a professional. Here are a few suggestions:
Use sandpaper on the surface to remove any stains or scratches. After that, use a clean towel to wipe the surface.
Apply clear polyurethane paint. Let dry completely before moving furniture around.
Acrylic paint is a great way to paint furniture.
Instead of painting, use stain. You can give your furniture a rich appearance with stain.
Use shellac wax. This will protect and shine the wood.
What is the difference between a hobbyist woodworker and a professional woodworker.
Hobbyists are passionate about making things from wood, while professionals tend to be more focused on the quality and craftsmanship of their work. Hobbyists often take pride in the creations they make and often share them to family and friends. Professionals will spend hours looking at designs before they start to build a project. They'll be meticulous about every aspect of their work, from choosing the best materials to finishing it perfectly.
Is there a way to start my own woodworking company?
It can be difficult to start your woodworking business. You will need to adhere to many legal requirements. However, it doesn't necessarily mean you must go through all the hassle of setting up a business. Many people opt to join existing businesses instead. You only need to pay membership and tax fees.
Statistics
- Woodworkers on the lower end of that spectrum, the bottom 10% to be exact, make roughly $24,000 a year, while the top 10% makes $108,000. (zippia.com)
- Most woodworkers agree that lumber moisture needs to be under 10% for building furniture. (woodandshop.com)
- In 2014, there were just over 237,000 jobs for all woodworkers, with other wood product manufacturing employing 23 percent; wood kitchen cabinets and countertop manufacturing employing 21 percent. (theartcareerproject.com)
- If your lumber isn't as dry as you would like when you purchase it (over 22% in Glen Huey's opinion…probably over 10-15% in my opinion), then it's a good idea to let it acclimate to your workshop for a couple of weeks. (woodandshop.com)
External Links
How To
Tips on how to drive a nail in wood
The first step in driving a nail into wood is to choose the correct size and type of hammer. The most commonly used types of Hammers are claw hammers. Each type of tool has its advantages and drawbacks. For example, a claw hammer works best when you want to hit something hard, like nails; however, it's difficult to control precisely where the blow lands. A sledgehammer is great for hitting large areas at once, but it's too heavy to use effectively for smaller tasks.
After choosing the right hammer, place your hand flat against the side of the head so that the handle rests comfortably in your palm. Grip the handle firmly, but don't squeeze it so tightly that you hurt yourself. Your wrist should be relaxed while you hold the hammer straight upwards. You should then swing the hammer straight up, keeping your wrist relaxed. You should feel the impact of your hammer hitting the nail. If you're having trouble getting the hang of swinging a hammer, practice with a block of wood until you get the rhythm down.
Once you are ready to drive the nail, place the hammer close to your body. Place the nail so that it is perpendicular with the wood's surface. Keep your eyes focused directly on the tip of the nail. Move the hammer forward and then continue to move the hammerhead. Keep doing this until you are comfortable with the swing. When you are confident with the technique, add power to your swings. Try holding the hammer above your shoulder and bring it down forcefully. This will help you put more energy behind each of your moves.
Once you've made the first nail hole, take out the hammer. To remove the remainder of the nails, you can use a screwdriver/pry bar. To prevent splitting the wood, ensure you keep the nail heads flush against the board's surface.