Chatter can be caused by the inherent frequency of a cutting tool. The natural frequency can be affected by many factors, such as the toolholder and cutter tooling. To prevent chatter from rotating tools, it is essential to ensure that they are properly balanced. Sometimes, it is possible to control the natural frequency by balancing the cutting instrument and the workpiece. A glaze is a liquid suspension from finely ground minerals applied to ceramic ware prior to firing at a temperature which makes it resistant to warping and durable.
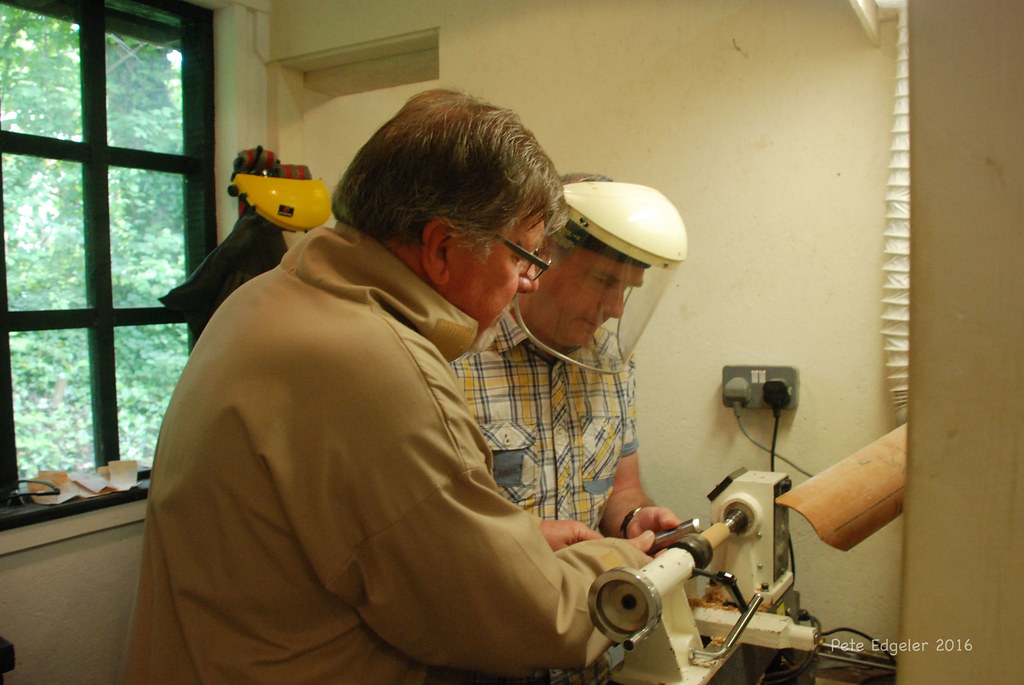
Bow lathe chatter
The Chatter Tool for a Bow Lathe can produce a variety decorative patterns on turnings. The tool's cutters are made from spring steel and vibrate during use. They are available in a variety of shapes, including square, domed, or hollow ends. The Sorby Chatter Tool is 4 inches long and best suited for dense hardwoods. Here are some tips to avoid chatter. Use the tool when you are working with woodwork projects that have complex curves.
Robert Sorby chattertool
The Robert Sorby wood lathe chatter tool is a useful tool for turning wood. It is capable of producing many decorative patterns on the end grain. There are four types, convex and concave, of cutting faces. This is a better choice for hardwoods, because it produces finer decoration then a saw. These cutters are made from spring steel and vibrate during use.
NOVACAM non-contact 3D metrology system
Novacam's 3D non-contact metrology system can measure chatter accurately in any part of the body, including the ID. Novacam 3D Metrology Systems can capture surfaces point by point using their innovative low-coherence technology. They can measure upto 100,000 points per minute and generate more than 1 million 3D measurement point. The Novacam system's data acquisition software makes it easy to automate scanning, measurement, and data analysis. Users can even customize scanning definitions and measurement sequences in minutes.
Unequal lathe
Chattering on your wood lathe could indicate that you are turning an unbalanced piece. You can blame a variety of factors including the type and direction of the wood used, how fast you turn, and what speed you use to cause the chatter. Chatter can often be a sign that you are not properly balancing your tools or using the right tool. Follow the instructions in your manual. Other reasons for chattering may be a problem with your workpiece or a dull cutting tool.
Slides for locking lathes
A slide lock is a good way to stop wood lathe chatter. This can be done by attaching the appropriate tool post. If the slide is not locked, the tool will sway and cause chatter. This can be prevented by locking the bolt and nut on the post. Chatter grease can be added to the tool's support. Locking the slide properly can help prevent wood lathe chatter and improve its functionality.
Use a chisel
A good chisel for woodworking is a must-have tool. The cutting edge should always be sharp and the back must be perfectly square. To ensure maximum success, take the time to properly sharpen chisels. To ensure that they are cutting smoothly, you should test their sharpness on softwood before using them. If the chisel's edge is too sharp, it will cause damage to the wood and rip the end grain.
Boring bars are used to make wood lathe chatter.
When it comes to using a boring bar to produce chatter on a wood lathe, choosing the wrong tool could cost you in the long run. Boring bars can be 10x more costly than plain steel bars and must be gripped with four times their size. This will only address one problem: vibration. Dampening tools are better if you want to reduce chatter at your lathe.
FAQ
What tools should I start with when becoming a woodworker?
Woodworking requires patience and practice. It takes time and practice to master the various techniques and tools required for woodworking.
There are many kinds of woodworking equipment currently on the marketplace. Some prefer to use power tools, while others prefer to use hand tools.
Your choice, however, is up to you. However, you need to ensure that the tool you use is the right one for the job. If you don't have any experience, you may consider starting with a basic set of hand tools.
A router is a tool that cuts intricate shapes in wood. You can also learn how to use it. These tools can be purchased at most hardware stores.
You can learn how to woodwork.
The best way to learn anything is by doing. Woodworking takes practice, skill, patience and experience. It takes time to master any craft.
To actually learn something is the best way. Start small and then build upon what you've learned.
How can a beginning woodworker make a living?
Many people are looking to create their own furniture and start an internet business. You don't have to sell on Etsy if your furniture is just beginning. You can sell at local craft fairs. A workshop could also be offered for people who are interested to learn how they can build their own furniture. If you have experience as a carpenter or builder, you might consider offering services such as remodeling homes or creating custom pieces for clients.
How can I learn basic skills in woodworking?
The best way to learn how furniture construction is to make your own bench. This project can be completed with whatever wood you have available at home. If you are unsure what type of wood is best, you can get cheap pine boards at Lowes (or Home Depot) instead. Once you have built your bench, you will need to sand it off and then finish it with a stain/varnish.
How can I keep my shop organised?
A designated place to store your tools is the first step towards keeping your workshop clean. To keep your tools sharp and ready for work, keep them clean of dust and debris. You can hang tools and accessories with pegboard hooks.
Statistics
- In 2014, there were just over 237,000 jobs for all woodworkers, with other wood product manufacturing employing 23 percent; wood kitchen cabinets and countertop manufacturing employing 21 percent. (theartcareerproject.com)
- Woodworkers on the lower end of that spectrum, the bottom 10% to be exact, make roughly $24,000 a year, while the top 10% makes $108,000. (zippia.com)
- If your lumber isn't as dry as you would like when you purchase it (over 22% in Glen Huey's opinion…probably over 10-15% in my opinion), then it's a good idea to let it acclimate to your workshop for a couple of weeks. (woodandshop.com)
- The U.S. Bureau of Labor Statistics (BLS) estimates that the number of jobs for woodworkers will decline by 4% between 2019 and 2029. (indeed.com)
External Links
How To
How to stain wood
Staining wood refers to applying chemicals to wood's surface. This chemical reaction causes the wood to change in color. The wood will turn from white to brownish-red due to the chemical reaction. The most common type of wood used for staining is oak, although many other types of wood can be stained.
There are several ways to apply stains to wood surfaces. You can mix the stain with a solvent, such as turpentine, and spray it onto the wood. Other methods use a solution of water and dye applied directly to the wood. You can also mix stains with varnishes or paints so that they become part the finish coating.
The first step in staining wood is preparing the surface. The wood must be thoroughly cleaned to remove all grease and dirt. Sanding the wood removes scratches and imperfections. Next, you need to decide which stain you want. There are two types of stains that can be used: penetrating and non-penetrating. Penetrating stains penetrate deeper into the wood than non-penetrating ones, making them ideal for dark colors such as mahogany. Penetrating stains are best paired with lighter colors, such as maple.
After choosing the type and application method you prefer, gather your tools. Because you can spread the stain evenly with a paintbrush, it is ideal for applying them. To remove any stains left behind after painting, you will need some rags. If you intend to mix the stain yourself you will need enough containers to hold all the components.
Once you have prepared your materials, start by cleaning the area where you plan to stain the wood. Use warm water and soap to clean away dirt and dust. Wipe the entire piece of furniture with a rag dampened with clean water. Take care to remove all debris and dirt, especially if you are planning on staining darker wood.
The stain should be applied next. The stain can be applied by spraying or brushing the stain onto one end of the furniture. Slowly and carefully work your way along the grain to reach the opposite end. Make sure that the stain does not drip off the edge of the wood. Before moving on to the next steps, allow the stain drying completely.
Apply a clear polyurethane sealant to protect the painted surface. Three coats are recommended for polyurethane. Allow the third coat, which should dry overnight, to dry before sanding.